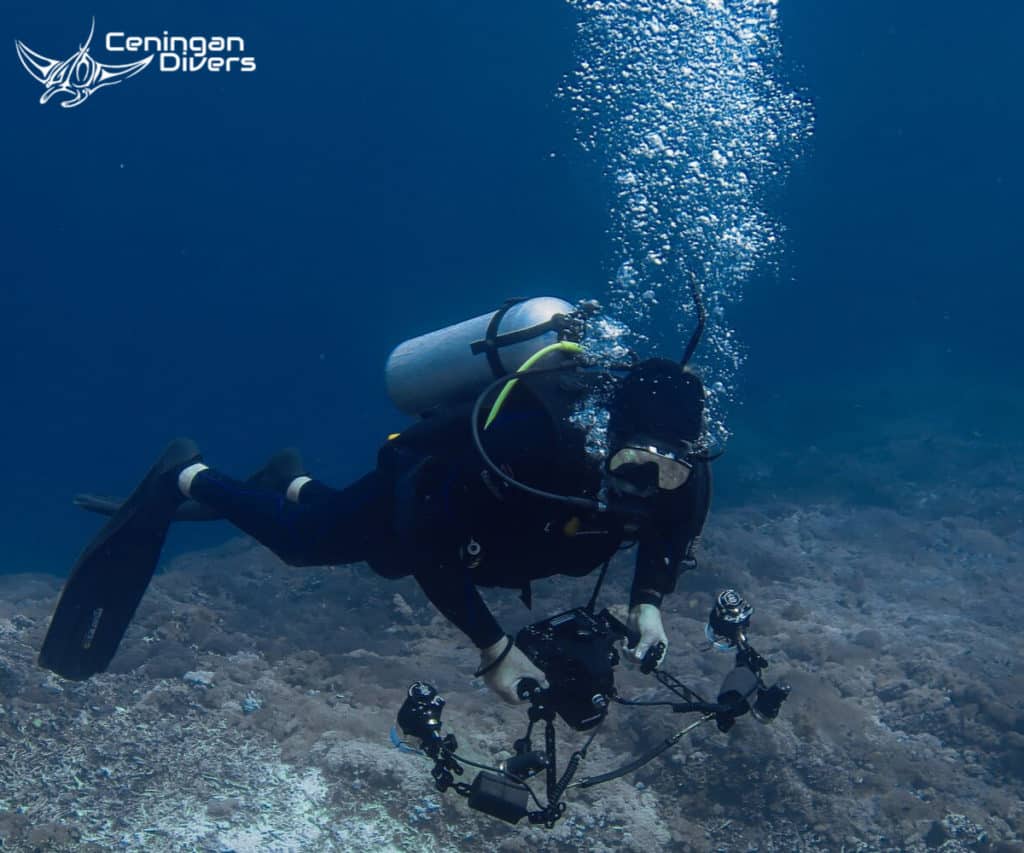
Photography, today is such a big part of our lives. Capturing memories of our adventures to be shared with our friends and the world is now a normal part of our vacationing process. Everyone can take photos, but have you ever wondered what it takes to capture great underwater pictures?
We have summed up 7 tips and tricks on how to become a better underwater photographer. These tips will help you improve your photography skills while diving. Taking great pictures underwater requires a mastery of several skills. There are also specialty courses. In these courses, you will learn what it takes to become an underwater photographer, how to master your buoyancy and how to better identify marine creatures.
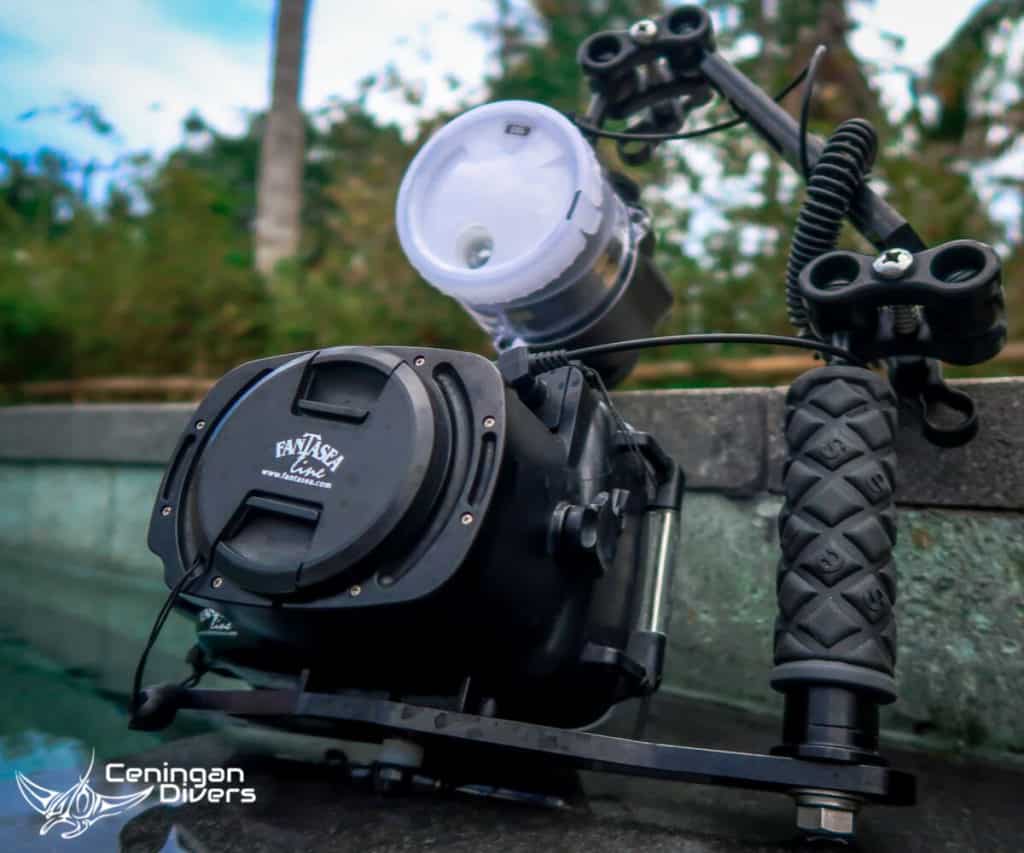
Choose your underwater camera wisely
Step one. Get a camera that will suit your photography needs. As a newbie, we suggest beginning with a compact camera.
Point and shoot cameras today come with a wide variety of settings for underwater photography. Also, there are many affordable options, depending on your budget. Remember you will also need an underwater housing which could cost you as much as the camera itself. Do your research and compare the cameras
Camera settings for underwater photography
When starting to work on your underwater photography skill, using the auto/Program mode is a solid way to take pictures while limiting the stress associated with having to work with manual settings, however if you wish to take amazing underwater images, you will eventually need to build your confidence and take the time to learn how to
Here, we described the most useful features for you to master. These tips and tricks will help you improve your underwater photography skills and get better results.
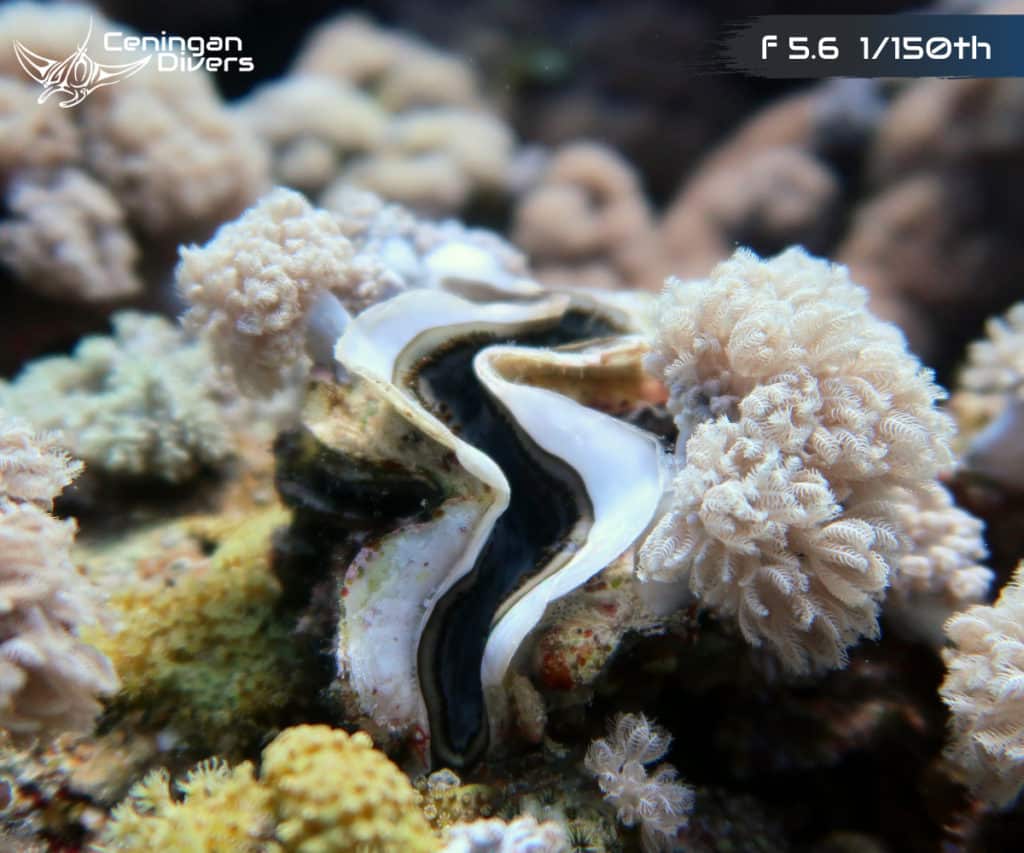
Aperture
Aperture regulates the size of the hole
Secondly, it affects the depth of field of your image. The depth of field is how far from the camera the image remains sharp. Understanding this will help you to regulate between a sharp and blurry part of the subject.
Try this out: Choose a steady macro subject, let’s say a
Shutter speed
Let’s take a look into another exposure feature of camera settings. Shutter speed indicates how long your aperture hole remains open after pressing the shutter. Longer means more light enters the sensor which results in a brighter image.
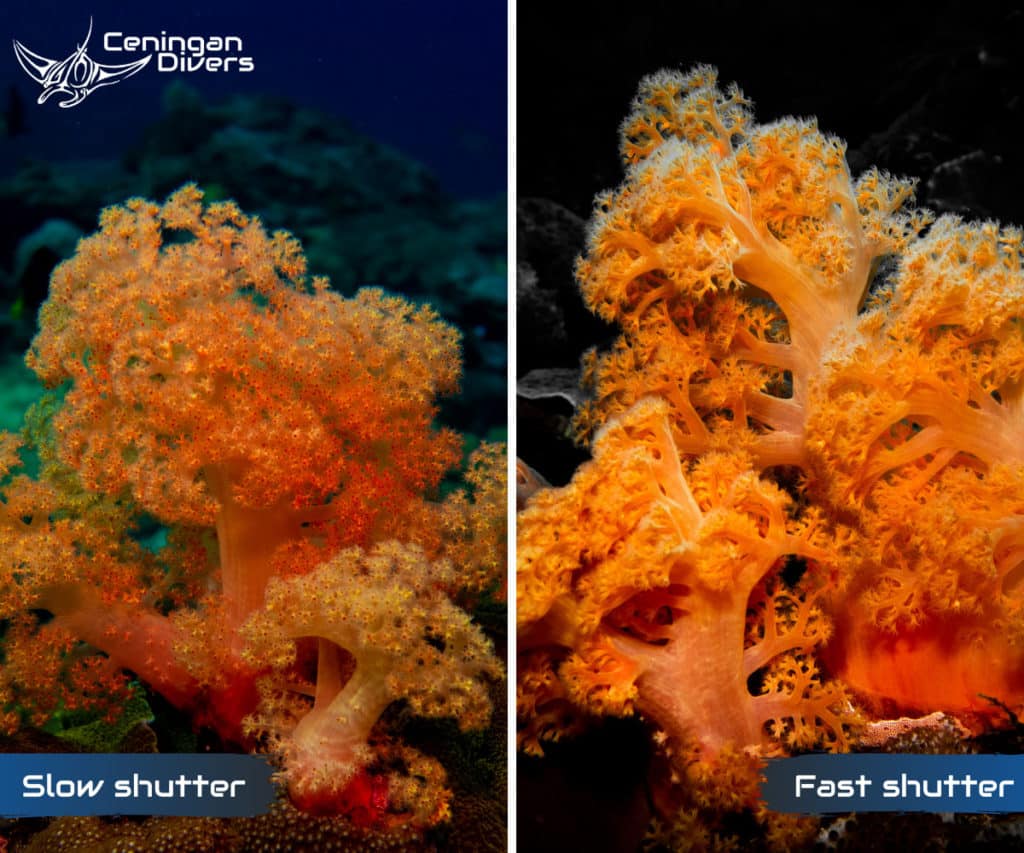
Together with aperture, these are the most important camera settings you need to understand. Combinations of these two features will help you to achieve correctly exposed images. At the same time, it will allow you to change the colour of the background. This is achieved by increasing or decreasing your shutter speed.
Practice this exercise: Choose a subject positioned against the blue background, for example a diver or a coral. Have your aperture set on neutral f5 or f6. Set a fast shutter speed of 1/250th of a second. Focus and shoot. Result should be an image with dark blue or black background. Next, change shutter to slower speed, 1/60th second. Focus and shoot. Resulting in much brighter more vivid blue colour of background.
White Balance
As a certified scuba diver, you know that colours diminish with depth. This is one of the major challenges to conquer in underwater photography. You will realize that most of your images will turn out to be either very blue or green. The first thing to do to avoid this is to adjust the white balance in your camera settings.
Most of the modern cameras already have an underwater mode, so you just need to turn it on. If your camera does not support this feature, another help is to use an external red filter. However, the red filter may be inconsistent. Underwater photography results may turn very red as we shallow up and the light gets stronger.
There are several more options for achieving the correct white balance. More on this in the next chapter.
Photography is all about the lighting
To understand light and white balance in depth is crucial to become an underwater photographer. To master underwater photography you need to learn how lighting works.
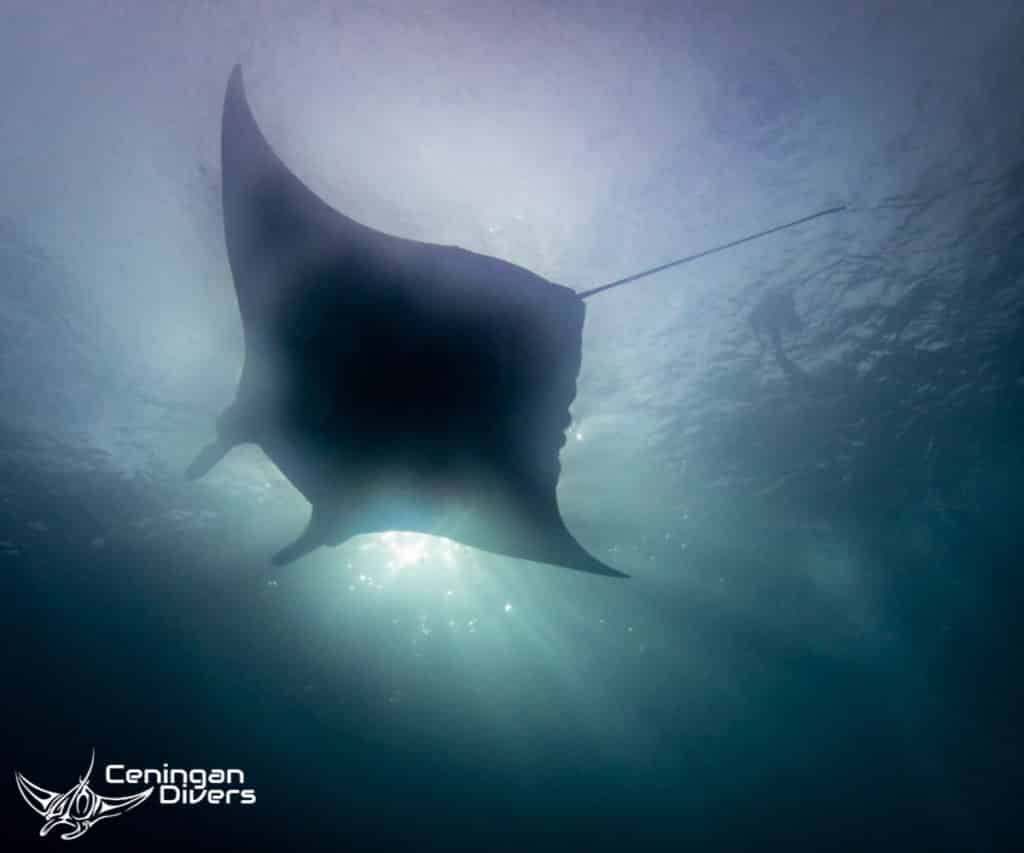
Since light penetration is reduced as we go deeper underwater, there are two easy options to shoot outstanding images: Shallow up and use natural light penetrating from the surface. Alternatively, incorporate artificial light onto your camera settings.
Perhaps after your stay at Ceningan Divers, you are looking to doing more dives in other region of Bali or in Indonesia. You have many options.
Natural light underwater
Using the ambient natural light while scuba diving can be highly rewarding. There are many examples of award-winning pictures of
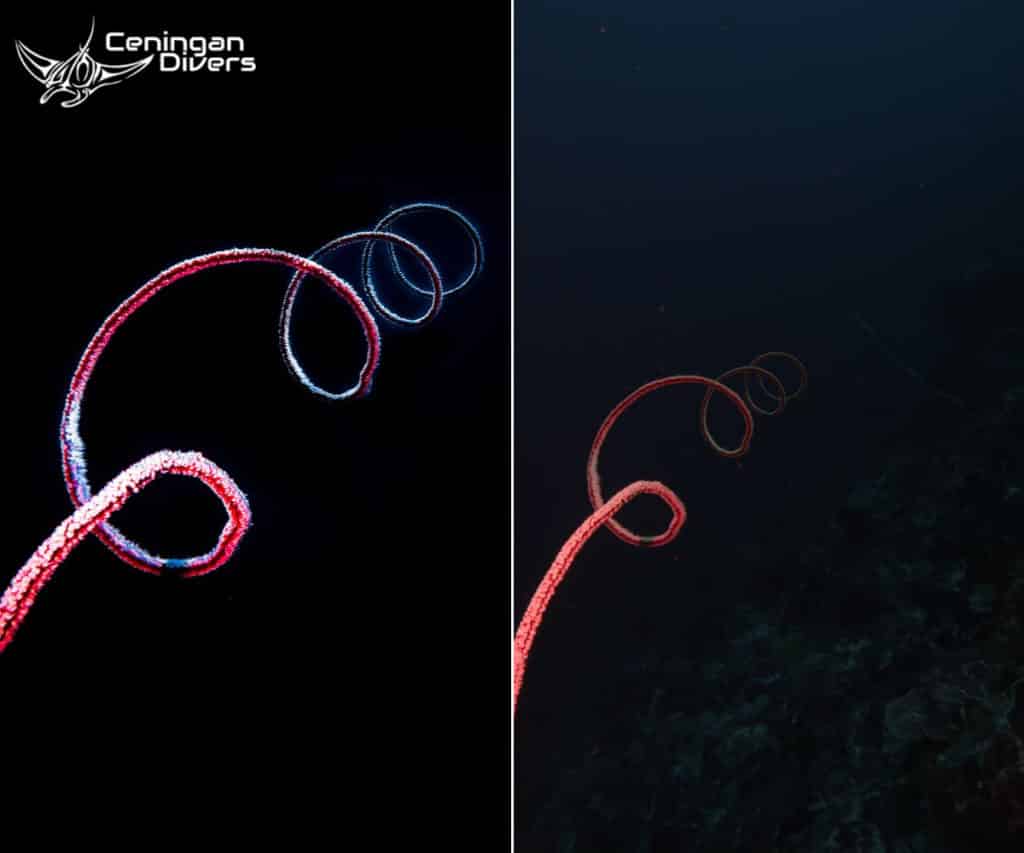
Artificial light underwater
Upgrading your underwater camera rig with external strobes may come with an extra price tag. However, it will bring you further on your journey to become an proficient underwater photographer.
Strobes, or flashlights, will supply your subject with enough light to get the most pleasing results. It will require extra steps in the learning process. Nevertheless, it will reward you with colourful and sharp images.
Master your buoyancy while scuba diving
To enjoy scuba diving, buoyancy is a skill you must develop. Furthermore, while taking underwater pictures, excellent buoyancy gives you confidence and steady hands to become an underwater photographer. Should you require some tips and tricks to do so, please go ahead and read our blog about how to master your buoyancy skills. Keep in mind, we are only scuba diving visitors and we want to preserve our reefs for the future!
Respect the wildlife
Remember, as a responsible underwater photographer you should never touch the reef or any other marine animal to get a good shot! Always be aware of your surroundings and water conditions.
Ask yourself these questions: Is the subject accessible for me to shoot? Is there a possibility for me to touch or damage the reef? Is this animal very prone to flash? Am I too close to harm myself or the animal? If any of these answers is “yes”, move on or adjust your settings! No picture is worth destroying our ocean planet.
We adhere to a higher code of conduct while scuba diving at Ceningan Divers. You should aspire to be a responsible underwater photographer. Check out Green Fins to learn more about their program, the code of conduct and what it takes to become a Green Fins operator.
Positioning your shot
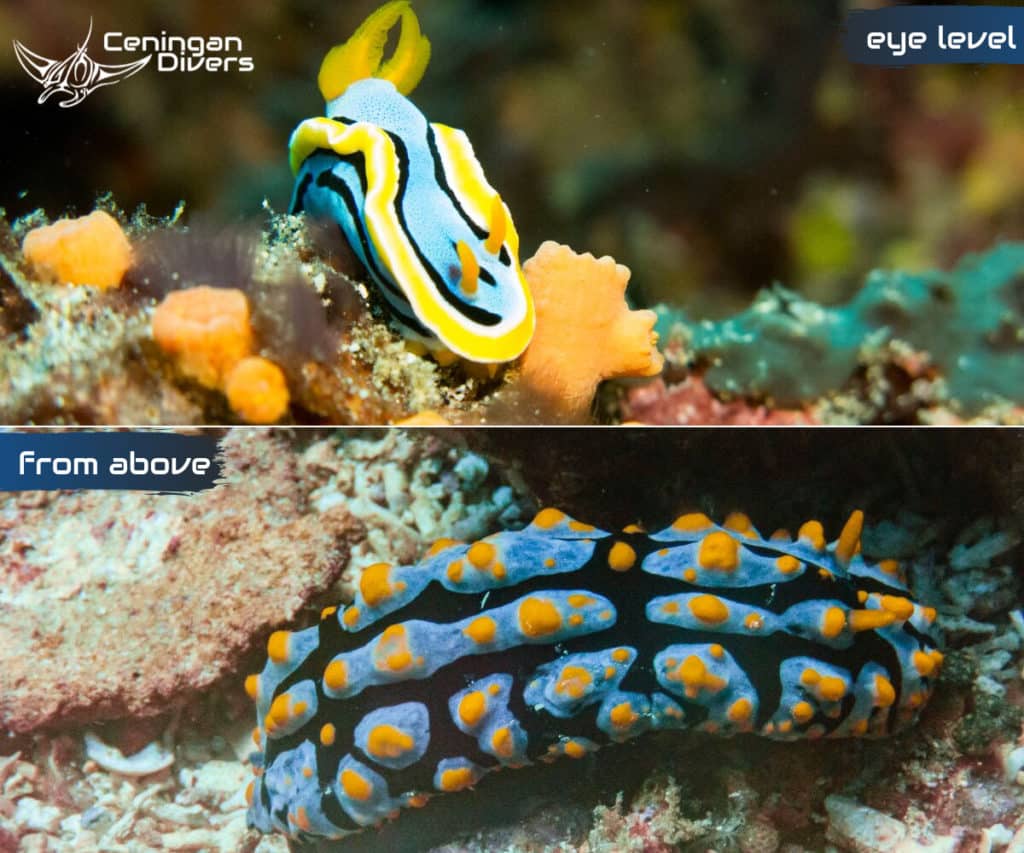
Shooting underwater is very different in many aspects than land photography. Due to our streamlined body position when scuba diving, we usually look down. This will also trigger a habit to shoot in the same direction. Break this habit!
Experiment – shoot the same animal, let’s say, nudibranch, from above and then from eye level or upward direction. You will see incredible improvement immediately.
Learn underwater photography editing software
Editing images after your dive trip plays a big role in getting the most out of your underwater effort. Often times, you will be surprised by how much you get out of an image that you thought was not good at all.
Watch tutorials, learn the basics of
Get the most out of your time underwater. Utilize these tips and tricks to become a better underwater photographer. Now that you learn some new tricks, it is time to put them in practice.
Come down to Nusa Paradise and we will show you all the great spots and marine creatures to practice your craft.
Alternatively, you can book your PADI Digital Underwater Photography Specialty Course with us and we will be happy to teach you the latest underwater techniques to better your photography skills.